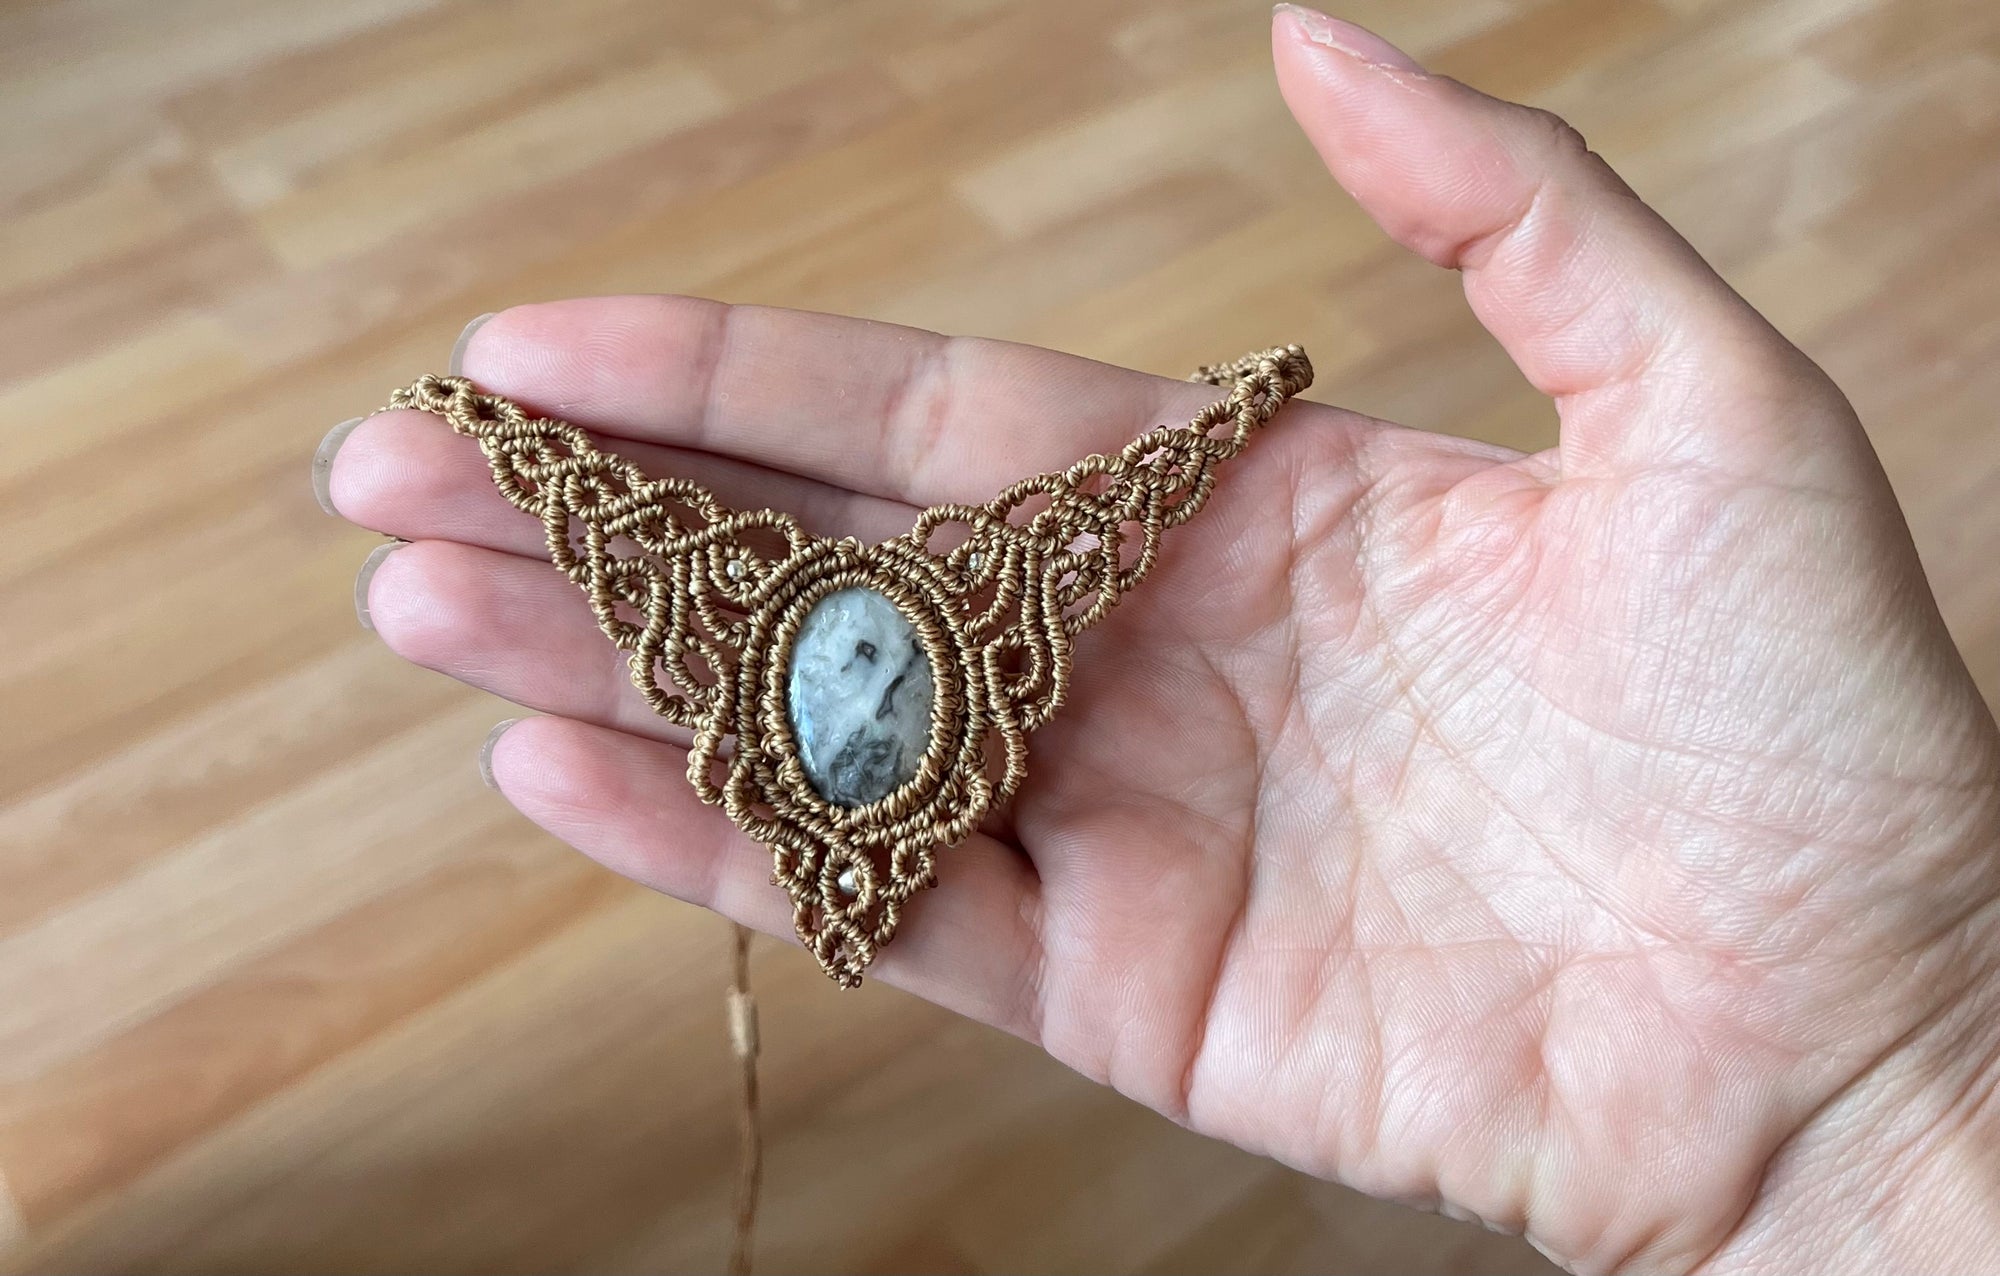
In this article, I will guide you through the most common knots that form the basis of every Macrame project. You will learn not only how to tie them but also to understand how they work together and how they gradually form a complete piece.
Basic knots are like anchor points from which everything else flows. Once you understand them and master their rhythm, you will begin to perceive how patterns with their own character emerge under your hands.
1. Lark’s Head Knot
Description:
This knot is like the first spell for every macrame creator – a gate through which you enter the world of knots. It serves to firmly and elegantly attach a cord to a ring, branch, or dowel. It is simple, yet it carries the power of a beginning – without it, no work could be created.
How to:
Hold the cord and fold it in half, then wrap the resulting loop around the dowel or ring – this is your anchor point, the center of energy. Then thread both loose ends through the loop and gently tighten. The knot will secure itself in place, ready to hold everything you tie to it.
✨ Knot tip:
Every Lark's Head Knot is like the first step on a journey – the more carefully you tie it, the stronger your entire work will be. Don't rush… even an ordinary knot can be a small magic.

2. Square Knot
Description:
The square knot is one of the most important and widely used knots in macrame. It creates a firm, flat, and regular pattern that looks clean and harmonious. It is the knot upon which many patterns are built – once you master it, many more possibilities will open up to you.
How to:
Four cords are used – two central ones remain straight and form the base, while two outer ones do the work.
First, take the left cord, cross it over the central cords and under the right one. Then lead the right cord under the central cords and pull it through the loop created on the left side. Tighten – this is the first half of the knot.
Then repeat the process from the opposite side (the right side starts). This "closes" the knot and creates a firm square shape.
Variations:
- Left–Right / Right–Left: the basic rhythm of the knot – alternating sides keeps the pattern straight.
- Alternating Square Knots: knots are tied in staggered rows, creating an interesting, slightly textured pattern.
✨ Tip:
Imagine the central cords as a fixed axis and the outer ones as those that "dance" around it. When you maintain a regular rhythm (left–right or right–left), the knots will be even, and the entire piece will appear balanced.

3. Half Hitch
Description:
The half hitch is one of the simplest, yet very versatile knots in macrame. It serves as a basis for creating lines – you can use it to form straight, diagonal, and subtly spiraling patterns. Although inconspicuous, it is from this knot that more complex and decorative structures emerge.
How to:
Choose one cord as the base (it remains taut and dictates the direction) and the other as the working cord. Wrap the working cord around the base cord and pull it through the resulting loop. Then gently tighten so the knot lies flat against the base cord.
✨ Tip:
The direction in which you tie the half hitches determines the resulting pattern – if you repeat them in one direction, a spiral will form; alternating directions will create a straight or zigzag line. Imagine the base cord as an axis and the others gradually "wrapping" around it to form a shape.
4. Clove hitch (also known as Double Half Hitch / DHH)
Description: It is one of the most important and commonly used knots in macrame. It serves as a basis for creating patterns, lines, and the overall structure of the work.
How to:
- Wrap the working cord around the carrier cord (1st half hitch)
- Repeat this once more in the same direction (2nd half hitch)
- Tighten → a clove hitch is formed
Types:
- Horizontal clove hitch – horizontal lines
- Diagonal clove hitch – diagonal patterns (very common)
- Vertical clove hitch – less common, but interesting structures

5. Half Hitch Spiral
Description: The half hitch spiral is a decorative technique where you repeat half hitch knots continuously in one direction – this causes the cords to naturally twist and create a helical (spiral) effect.
How to:
- Choose one carrier (guide) cord
- Tie half hitch knots with the second cord always in the same direction
- Do not switch direction → the knots will start to twist around the axis
- A spiral will gradually form
Types:
1. Single half hitch spiral
- you tie with one working cord around one carrier cord
- finer, thinner spiral
2. Double half hitch spiral (from clove hitch)
- you use more cords
- the spiral is more pronounced and stronger
6. Gathering Knot / Wrapping Knot
Description: Used to gather several cords together or to finish a project.
How to:
- Place a helper cord next to the bundle and make a loop downwards.
- Wrap the other end tightly around all the cords (over the loop).
- Thread the end through the loop.
- Pull the top end → the loop will tuck inside.
Result: a firm, neat wrap holding the entire bundle together. The result is a solid, clean "cylinder." 
7. Decorative Knots
Description:
Decorative knots are like ornaments for the entire macrame piece – they add character, delicacy, and originality. It's not just about strength or structure, but about appearance and detail. Each of these knots creates a different visual effect and can become a striking element of the whole work.
The image shows three selected knots:
-
Barrel Knot:
Creates a compact, spiral shape resembling a small cylinder. Suitable as an ending or a decorative element between patterns. -
Josephine Knot:
A delicate, intertwined knot with an elegant, almost ornamental appearance. It looks light and intricate at the same time, ideal for central motifs. -
Cross Knot:
A simple but distinctive knot that creates a cross effect. Often used to emphasize texture or as a connecting element.
✨ Tip:
Decorative knots stand out best when given space – combine them with simpler patterns so they truly pop and don't get lost in the overall piece.

Finally, it's good to remember that macrame is not just about the perfection of knots, but primarily about the joy of creation. The basic knots we've shown today form a solid foundation for all future projects – whether you embark on a simple plant hanger, a wall decoration, or more complex patterns.